 |
| WAGGS (Stock photo) |
One of my favourite things about being a Brownie leader is the camaraderie of the girls, their willingness to try anything and their enthusiasm for their crafts.
This past weekend, 27 Sparks, Brownies and Girl Guides spent two nights and a day at Camp Rolling Acres to celebrate being a Girl Guide this 2010/11 season with us, their leaders. It's like our end of year bash! The girls learn all kinds of great camping and cooking skills, independence, empathy, cooperation and of course, there's lots of fun stuff going on too. We always make a bunch of cute crafts!
Each of the four leaders worked with the girls to make a unique and simple camp craft. We always feature at least a few hat crafts to secure to our Girl Guide bucket hat to proudly remember how many years we've been going and all the great memories we've made. Okay, so this was my first year at camp, but the spirit of past years was with me as we made a fly swatter from plastic canvas, a caterpillar from pom-poms and a butterfly from pipe cleaners. Simple, creative and cute! Here's what we did:
Caterpillar Cutey:
 |
| Secure safety pin to stick first! |
Next, we glued a variety of colourful pom-poms to the front of the stick to form the body segments.
 |
| Finished Caterpillar pin |
Finally, we glued googly eyes to the front pom-pom or head. The most difficult part of this little cutey was letting the glue dry! The girls were so anxious to get their hat crafts on, some forgot glue needs a chance to dry to hold the pom-poms on. hehehe. We used Felt Glue and Alene's because they really are the best for the fluffy stuff. But even the tackiest glues need a chance to dry before you start wearing your creation.
Butterfly Dreams:
And what do caterpillars become?.....Butterflies! This one was only tricky because of the twisting. Take 3 colours of pipe cleaner: a full length one for the wings, one half of a second colour for the thorax (body) and one half of a third colour for the antennae.
 |
| Figure 8 for wings |
 |
| Lay thorax colour across wingspan |
Wrap the body colour around the wings once and twist.
 |
| Twist the thorax colour around antennae |
 |
| Finished Butterfly pin |
Bug Off Fly Swatter:
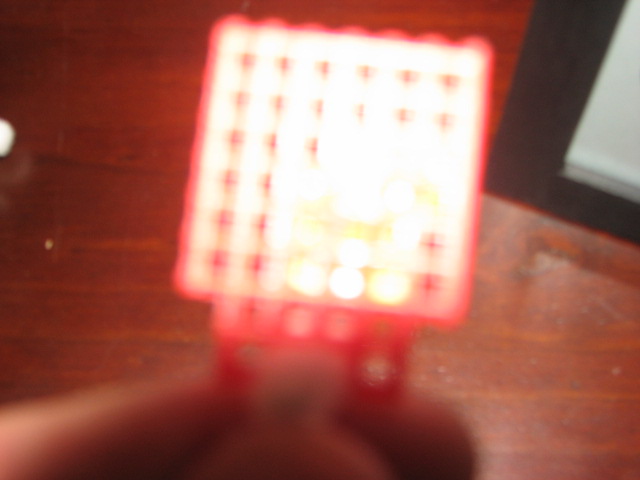 |
| Overexposed, but you get it, right? |
Next, take a half pipe cleaner and push it through the middle two cells on the bottom row of the narrow end (where you had cut off the 1x2 cells). We found it was easiest and most gentle on the plastic canvas when we folded the pipe cleaner in half and then put it through the plastic canvas side by side at the same time and pulled through together.
 |
| Finished Fly Swatter Pink |
Some imaginative ideas at the other craft stations too; check out the Firefly Night Light (put a glow stick inside the bottle!), the Butterfly Sun Catcher and the Pet Rocks they made:
 |
| Pet Rock Firefly Night Light Butterfly Sun Catcher |
All in all, the crafts were a hit. It was probably one of the hottest weekends of the summer, but with all the fun activities and crafts on the go, no one seemed to notice until they crashed at night and fell asleep early. :-) Sweet Dreams! aaaaahhhhhhh......
Until next time: Inspire...Imagine...Invent!
No comments:
Post a Comment
Let me know what you're thinking!